
What is negative painting?
It means to paint around the subject by focusing on the non-subject, or background, to let the subject stand out. Sort of like a stencil, but not really.
OK, this is more difficult for me to explain than I thought it would be so I will just show you!
For this project you will need the following:
- Cold-press watercolor paper
- Light box or glass table
- Transparent watercolors: Alizarin Crimson, Winsor Yellow, Quinacridone Magenta
- Waterproof marker
- Pencil
Let’s Begin Our Watercolor Project!
Create your tree design on the back side of your paper. Be free and spontaneous–you won’t see this when its finished so you can erase mistakes or scribble them out.
Don’t worry about overlapping lines either, just make sure you like your composition. Be aware that the finished piece will be a mirror image of this drawing.


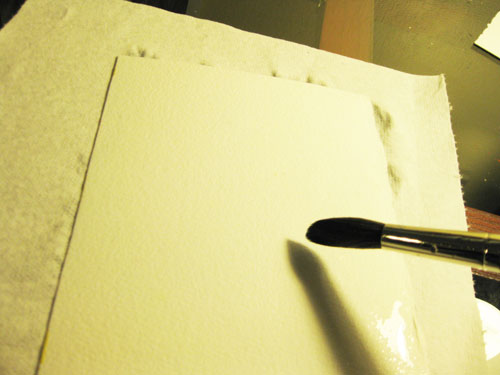
Next, begin adding your reds and yellows. Don’t go too dark yet. I probably would have left more pure yellow areas, but I got a little carried away with the beautiful alizarin crimson!


Now that your paper is dry, it’s time to paint the negative space around the trees. Set up your light box or place a lamp under a glass table top so you can see your design on the other side.
If your pencil marks are too light, use a marker to embolden your lines. Test on scrap paper to make sure the marker wont bleed through, though!
Tip: You don’t want to use a regular pencil on your painted surface, since that is not a part of the desired effect. Since this piece is fairly simple, I just used a light wash of paint to differentiate the branches.
For a more complex piece, I would have traced it on the front lightly with watercolor pencil, since this would “dissolve” into the piece as I laid down my washes.

Using the light from behind, I made light washes of the negative spaces in between the trunks and branches:

Now that you know where your positive and negative spaces are, you can decide how much contrast you would like. I decided I wanted to make the trees “pop” more so I added a deeper glaze of crimson in some areas.

To highlight the lovely yellows in the trunks, I added some Quinacridone Magenta to the bottom area, which is a lovely burgundy-purpley shade.

As I often do in my watercolors, I found some areas that I wanted to lift some paint out of to bring back the brilliance of the paper underneath.

Another once-over to check my values, color intensity and composition:

And my work here is done!

“Sudden Autumn” watercolor by Aura Lesnjak
I hope you enjoyed this tutorial! I would love to see how you applied this technique in your paintings! Please feel free to leave a link or comment below.
You can also let me know in the comments what other techniques you would like to see, or you can take my brief survey so I can plan future lessons.
Thank you for visiting and please stop by again!
